这篇文章主要为大家详细介绍了Android振动器使用方法,文中示例代码介绍的非常详细,具有一定的参考价值,感兴趣的小伙伴们可以参考一下
本文实例为大家分享了Android振动器使用方法的具体代码,供大家参考,具体内容如下
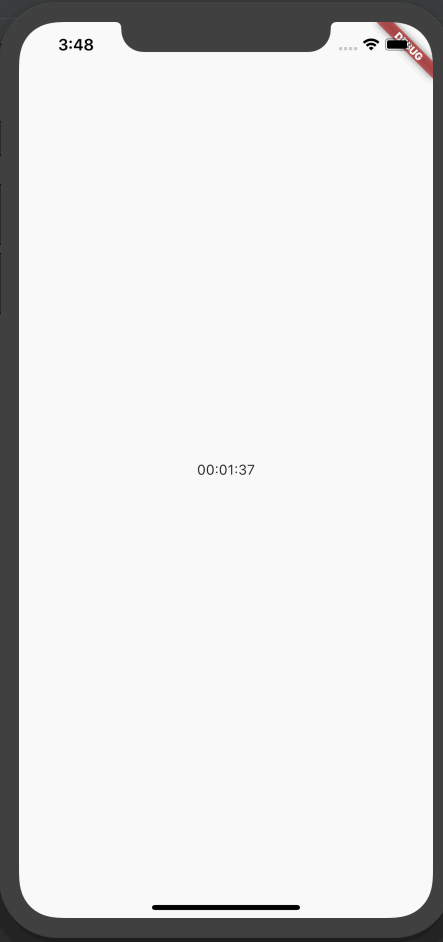
效果图:

选择相应的毫秒数,就会振动相应的秒数。
实现步骤:
一、创建activity_vibrator.xml布局
<?xml version="1.0" encoding="utf-8"?>
<LinearLayout xmlns:android="http://schemas.android.com/apk/res/android"
    xmlns:app="http://schemas.android.com/apk/res-auto"
    xmlns:tools="http://schemas.android.com/tools"
    android:layout_width="match_parent"
    android:layout_height="match_parent"
    tools:context=".VibratorActivity"
    android:orientation="vertical"
    >
    <LinearLayout
        android:layout_width="match_parent"
        android:layout_height="wrap_content"
        android:orientation="horizontal"
        >
        <TextView
            android:layout_width="0dp"
            android:layout_height="wrap_content"
            android:layout_weight="1"
            android:text="振动时长:"
            android:textSize="15sp"
            android:textColor="@color/black"
            android:paddingLeft="5dp"
            />
        <Spinner
            android:id="@+id/spinner"
            android:layout_width="0dp"
            android:layout_height="wrap_content"
            android:layout_weight="3"
            android:paddingTop="5dp"
            android:spinnerMode="dialog"
            />
    </LinearLayout>
    <Button
        android:id="@+id/btn_start"
        android:layout_width="match_parent"
        android:layout_height="wrap_content"
        android:text="开始振动"
        android:textColor="@color/black"
        android:textSize="20sp"
        />
    <TextView
        android:id="@+id/tv_specific"
        android:layout_width="match_parent"
        android:layout_height="wrap_content"
        android:textSize="20sp"
        android:gravity="center"
        android:text="当前振动了多长时间"
        />
</LinearLayout>
之后绘制,下拉列表,每一列的高度和每一列中字体的颜色和太小等属性在这里面设置
item_select.xml布局如下:
<TextView xmlns:android="http://schemas.android.com/apk/res/android"
    android:id="@+id/tv"
    android:layout_width="match_parent"
    android:layout_height="60dp"
    android:gravity="center"
    android:textColor="@color/black"
    android:textSize="20sp" />
之后在VibratorActivity中实现振动功能:
public class VibratorActivity extends AppCompatActivity implements View.OnClickListener {
    private Spinner spinner;
    private TextView tv_specific;
    private Button btn_start;
    private ArrayAdapter<String> arrayAdapter;
    private String second;
    private Vibrator vibrator;
    private int mDuration;

    @Override
    protected void onCreate(Bundle savedInstanceState) {
        super.onCreate(savedInstanceState);
        setContentView(R.layout.activity_vibrator);
        spinner = findViewById(R.id.spinner);
        tv_specific = findViewById(R.id.tv_specific);
        btn_start = findViewById(R.id.btn_start);
        //设置下拉框
        CreateSpinner();
        btn_start.setOnClickListener(this);
    }

    private void CreateSpinner() {
        String[] array = new String[]{"0.5秒", "1秒", "2秒", "3秒", "4秒", "5秒"};
        int[] durationArray = new int[]{500, 1000, 2000, 3000, 4000, 5000};
        //设置我们自定义的资源样式
        arrayAdapter = new ArrayAdapter<>(this, R.layout.item_select, array);
        spinner.setPrompt("请选择毫秒数");
        //将适配器与下拉列表框关联起来
        spinner.setAdapter(arrayAdapter);
        spinner.setOnItemSelectedListener(new AdapterView.OnItemSelectedListener() {
            @Override
            public void onItemSelected(AdapterView<?> parent, View view, int position, long id) {
                mDuration = durationArray[position];
            }

            @Override
            public void onNothingSelected(AdapterView<?> parent) {

            }
        });
    }


    @Override
    public void onClick(View v) {
        String vibratorService = Context.VIBRATOR_SERVICE;
        //从系统服务中获取振动管理器
        vibrator = (Vibrator) getSystemService(vibratorService);
        //判断设置是否包含振动器
        if (vibrator.hasVibrator()) {
            //振动的秒数
            vibrator.vibrate(mDuration);
            String desc = String.format("%s手机振动了%f秒", DateUtil.getNowTimeDetail(), mDuration / 1000.0F);
            tv_specific.setText(desc);
        }
    }

    //应用退出,则取消振动
    @Override
    protected void onDestroy() {
        super.onDestroy();
        vibrator.cancel();
    }
}
最后不要忘了在AndroidManifest.xml清单文件中加入控制设备振动的权限:
<!-- 振动权限 -->
<uses-permission android:name="android.permission.VIBRATE" />
以上就是本文的全部内容,希望对大家的学习有所帮助,也希望大家多多支持编程学习网。
织梦狗教程
本文标题为:Android振动器使用方法详解


基础教程推荐


猜你喜欢
- Android中的webview监听每次URL变化实例 2023-01-23
- 解决Android Studio突然不显示logcat日志的问题 2023-02-04
- Android开发使用RecyclerView添加点击事件实例详解 2023-06-15
- IOS应用内跳转系统设置相关界面的方法 2022-11-20
- android studio按钮监听的5种方法实例详解 2023-01-12
- IOS 播放系统提示音使用总结(AudioToolbox) 2023-03-01
- iOS开发教程之XLForm的基本使用方法 2023-05-01
- Android多返回栈技术 2023-04-15
- Flutter绘图组件之CustomPaint使用详解 2023-05-12
- Flutter手势密码的实现示例(附demo) 2023-04-11